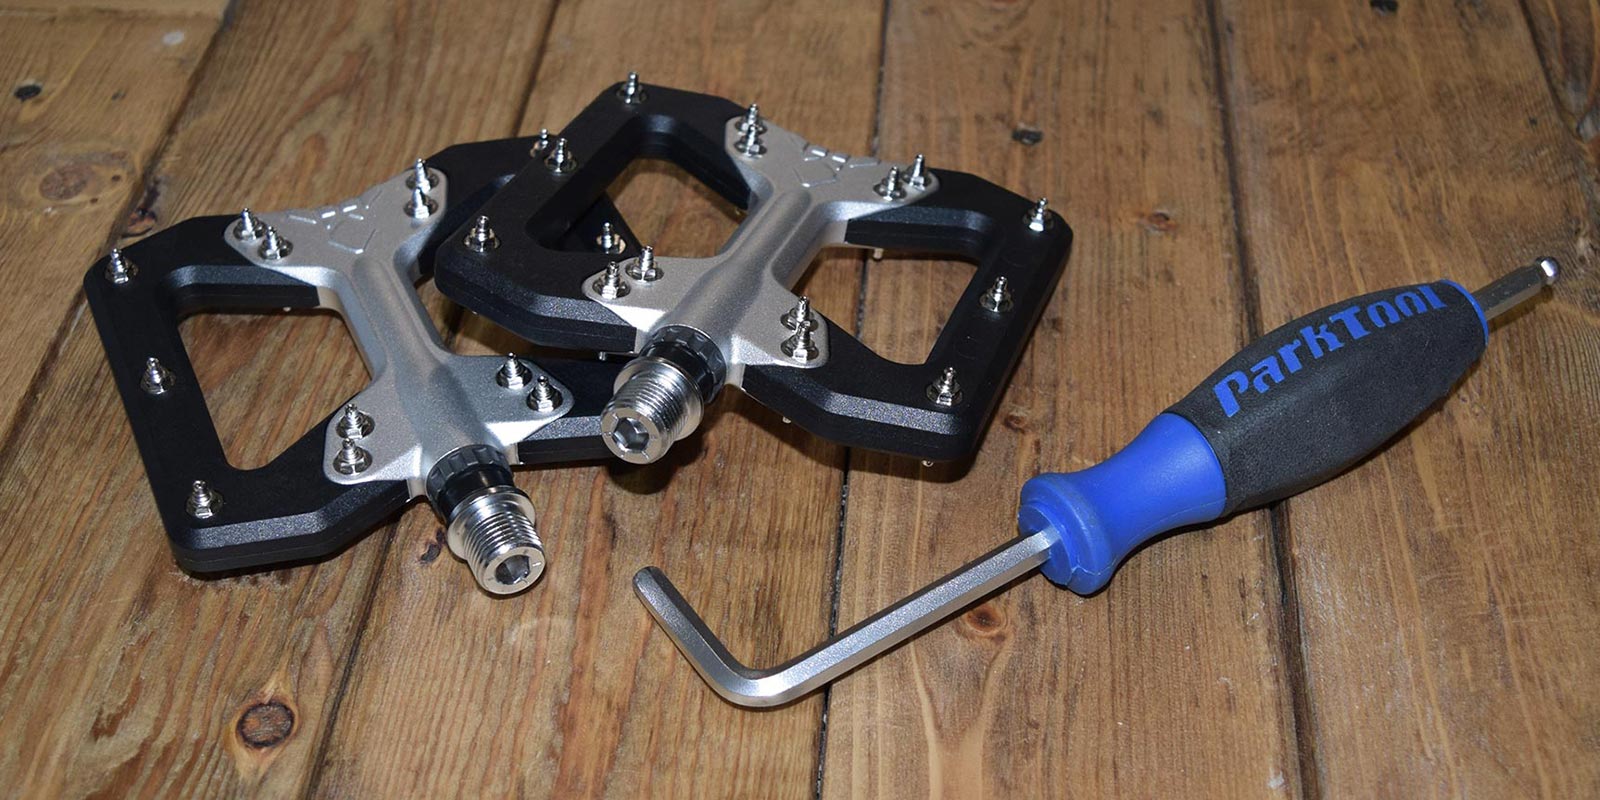

Required Tools
Depending on your pedals, you'll need:
A pedal spanner or the right size hex key.
Some bike grease.
A torque wrench (optional).
Squidworx pedals use a 6mm hex key, because who carries a pedal spanner on the trail?
For seasoned riders, installing and removing pedals is a quick and easy job. But if you're new to cycling or have never done it before, it's worth taking a minute to read through these instructions, as there are a few things that can catch you out. Get it wrong and you can damage the threads on your pedals or your cranks.
The one really important thing to know is that the LEFT pedal (non-drive side) has a reverse thread, while the RIGHT pedal (drive side) has a regular thread. Looking at each pedal from its own side of the bike, you tighten the LEFT pedal counter-clockwise and the RIGHT pedal clockwise.
Because "clockwise" changes depending on which side you look from, here's the rule that works on both sides, with either tool: turn the top of the tool towards the front of the bike to tighten, and towards the back of the bike to loosen.

How to tell your left pedal from your right:
Look for an "R" or "L" on the pedal body or axle.
(Squidworx pedals don't have these.)
Look for a groove or notch on the axle. Some brands mark the left pedal this way, but not all do.
Look at the thread. This works for every pedal, including ours. Hold the pedal with the axle pointing straight up: on the right pedal the threads slope up to the right, on the left pedal they slope up to the left.
Shift onto the big chainring, so your hand won't hit the teeth if the tool slips.
Fit your pedal spanner on the flats of the axle, or put your hex key into the end of the axle from the back of the crank arm.
Turn the crank so you can push down on the tool, for better leverage.
Loosen the axle by turning the top of the tool towards the back of the bike. Seen from the pedal's own side, that's clockwise for the left pedal and counter-clockwise for the right.
Keep turning until the pedal comes off, then repeat on the other side.


First, work out which pedal is the left (non-drive side) and which is the right (drive side).
Put a little grease on the axle threads.
Hold each pedal straight, at 90 degrees to its crank arm, and start the thread by hand for the first few turns. It should turn easily. If it doesn't, back it out and start again rather than forcing it, or you'll cross-thread it.
Fit your pedal spanner on the axle flats, or put your hex key into the end of the axle from the back of the crank arm.
Tighten by turning the top of the tool towards the front of the bike. Seen from the pedal's own side, that's clockwise for the right pedal and counter-clockwise for the left.
Tighten to 35–40 Nm. If you don't have a torque wrench, that's firmly snug: about another 1/8 of a turn once you feel resistance.
Check the pedals are still tight after your first ride.
Now get out and go ride!


